Well hello everyone!
I’m so sew excited to be doing my first official Simple Sew blog post on this site that I lovingly put together for you all. I have enjoyed reading and being a part of so many amazing posts on this site from such a huge range of makers, styles and patterns – I hope you are all getting bucketloads of inspiration for making your own Simple Sew pattern up!
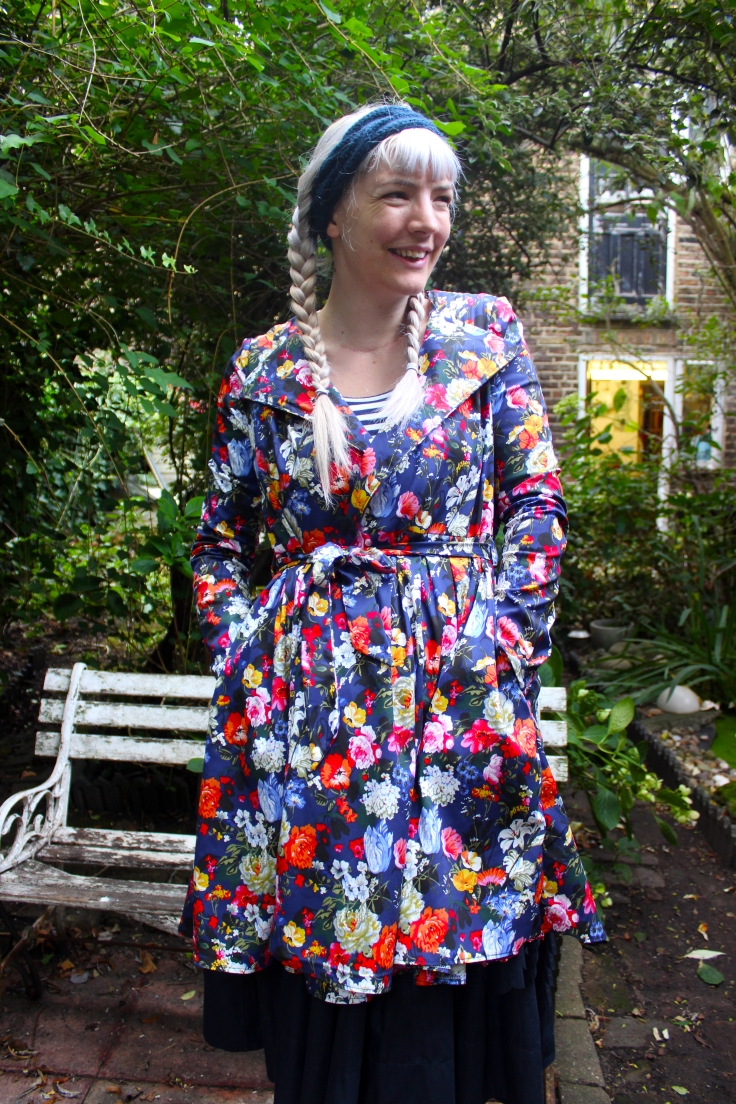
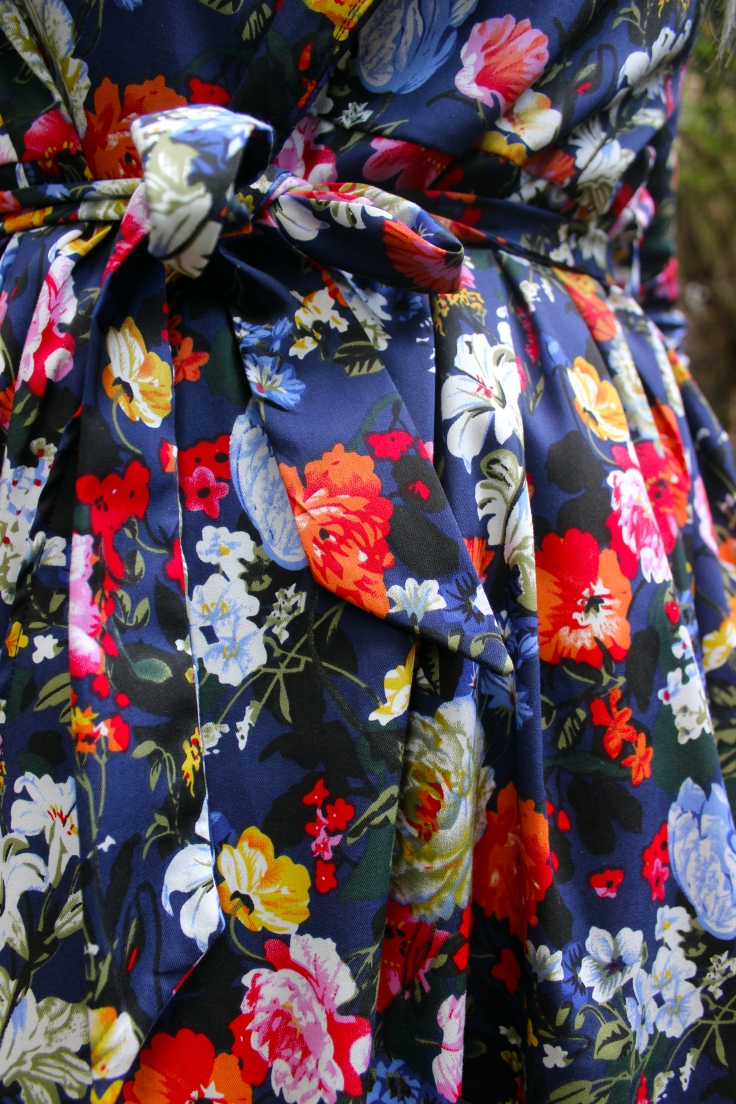
Anyway I’m here today with my version of Simple Sew’s Trench Coat in this gorgeous floral Stretch Sateen from White Tree Fabrics who have been so incredibly generous to us bloggers with their stunning fabrics!

I can’t begin to tell you how much I love this coat – it has jumped onto my back everytime I’ve walked out the front door and has been much admired! I couldn’t recommend this pattern enough.
Firstly, if you are looking for the full tutorial of this pattern the lovely Sew Sweet Sally has done one here (how great is her denim version?!) I am here to show you how to add lining so off I go…
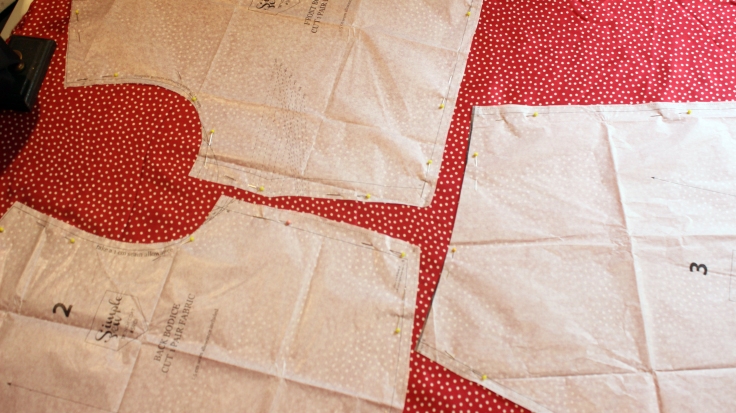
The lining fabric is an amazing silky red spotty Viscose from Fabric Godmother and it’s the perfect match for the stunning florals.
To start with you should already have your coat nearly finished – you would have already cut out the main fabric, sewn the darts and constructed the bodice, the pleats and sewn the skirt together and joined the bodice to the skirt. Also attached the facing – now we can start with the lining… I chose not to line my sleeves as there is no need with this fabric but if you do want to there are lots of helpful tutorials online too.
THE COAT LINING TUTORIAL
- Cut out the bodice and skirt back (but not skirt front yet) pattern pieces in the lining fabric
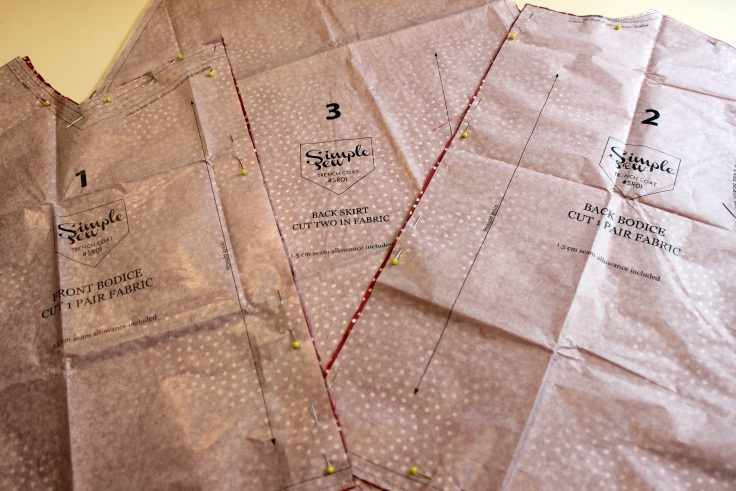
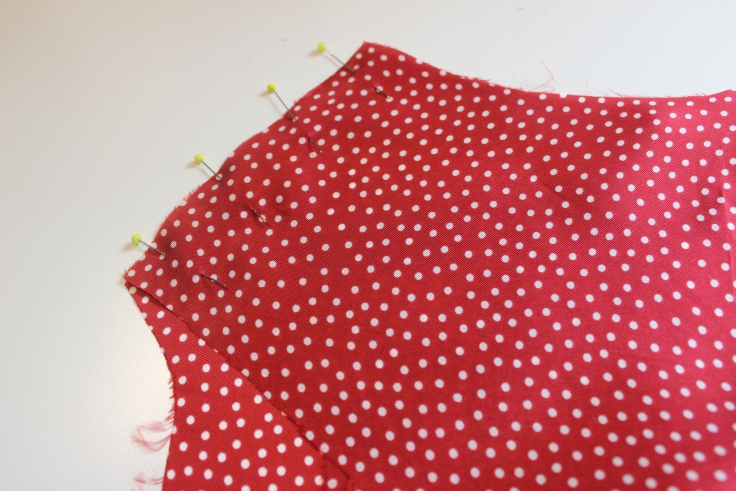
- Sew in the darts
- Construct the lining bodice as the main fabric

- Now it’s time to cut out the front skirt lining – as the main fabric is pleated and already bulky we are going to have to ‘pleat’ the pattern piece to end up with an aline skirt shape for our skirt lining instead (this way it will fit nicely in but not add any bulk) – I did this by using sellotape to create the pleats in the front skirt pattern piece and then pic the lining fabric to cut around. But you could do it by measuring and maths too!
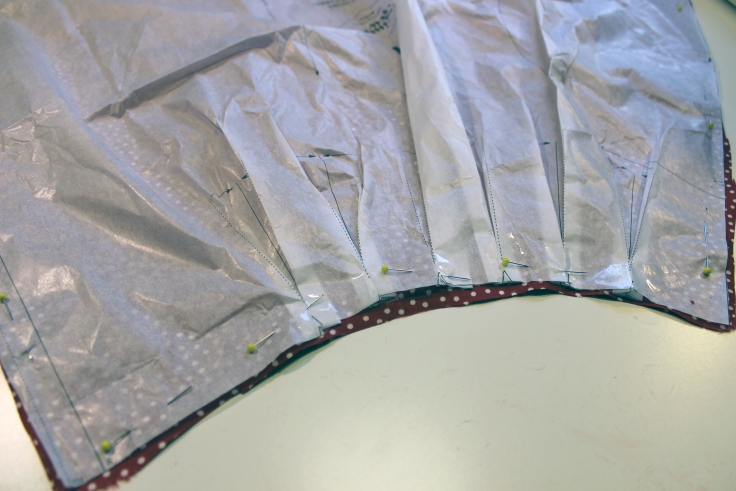
- Now you can sew together your skirt pieces
- Attach the skirt to the bodice (no pockets needed this time!) NB, You can finish your seams however you like but I used pinking shears on the lining to reduce bulk.
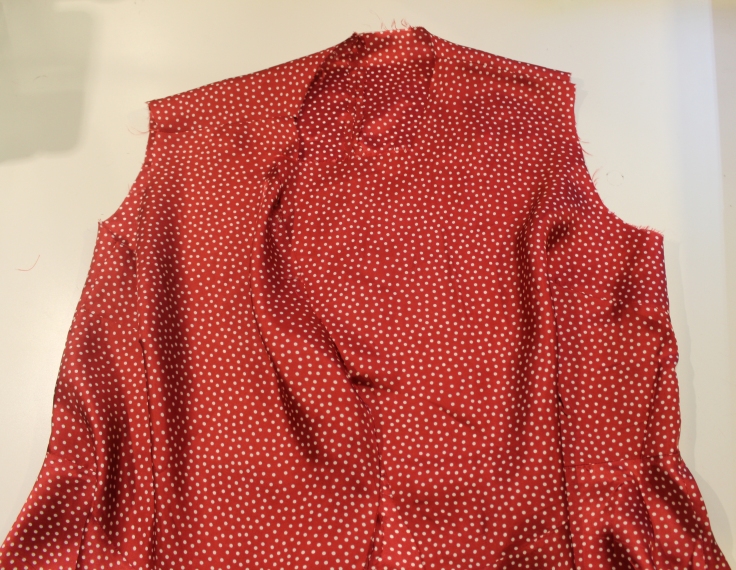
- Now we need to bring back the pattern pieces and the main fabric coat to do some doctoring to the lining to make it fit!
- Firstly the open edge of the lining needs to be trimmed down by the amount of the facing so pin it to the lining and cut around it.
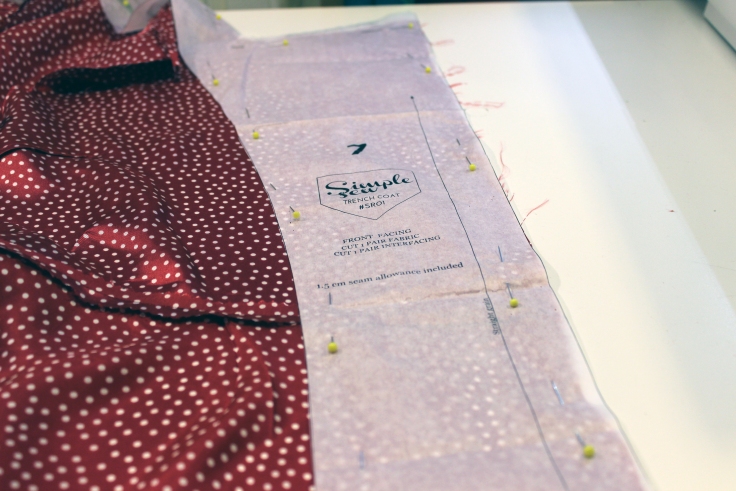
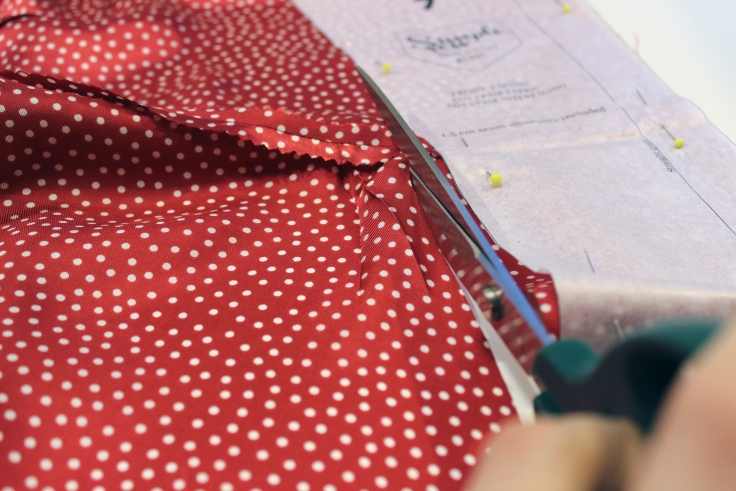
- Then the same for the neckline.
- OK now we are ready to attach the lining to the coat.
- Firstly, pin the lining RST to the facing all the way around


- Then sew this up – using the same seam allowance as the pattern states (1.5cm here)

- Now you can turn this the right side out and press well around the facing

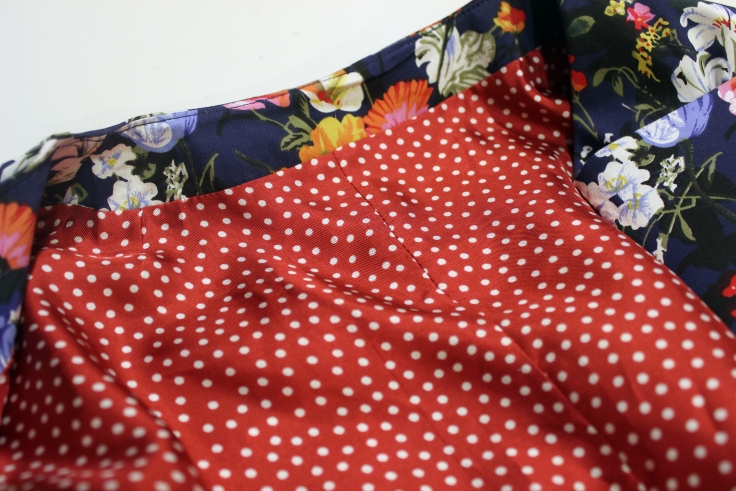
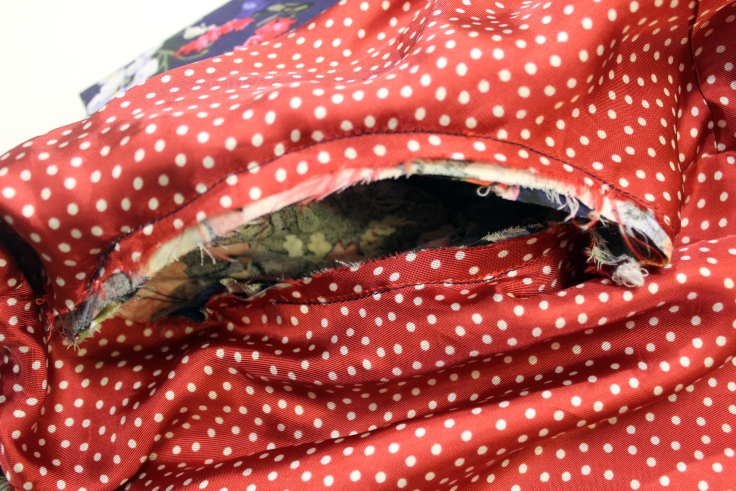
- Attaching the armholes is the trickiest bit and should probably be done by hand but I’m a bit allergic to hand sewing so I pinned and machine stitched the facing to the raw edge of the main fabric armholes

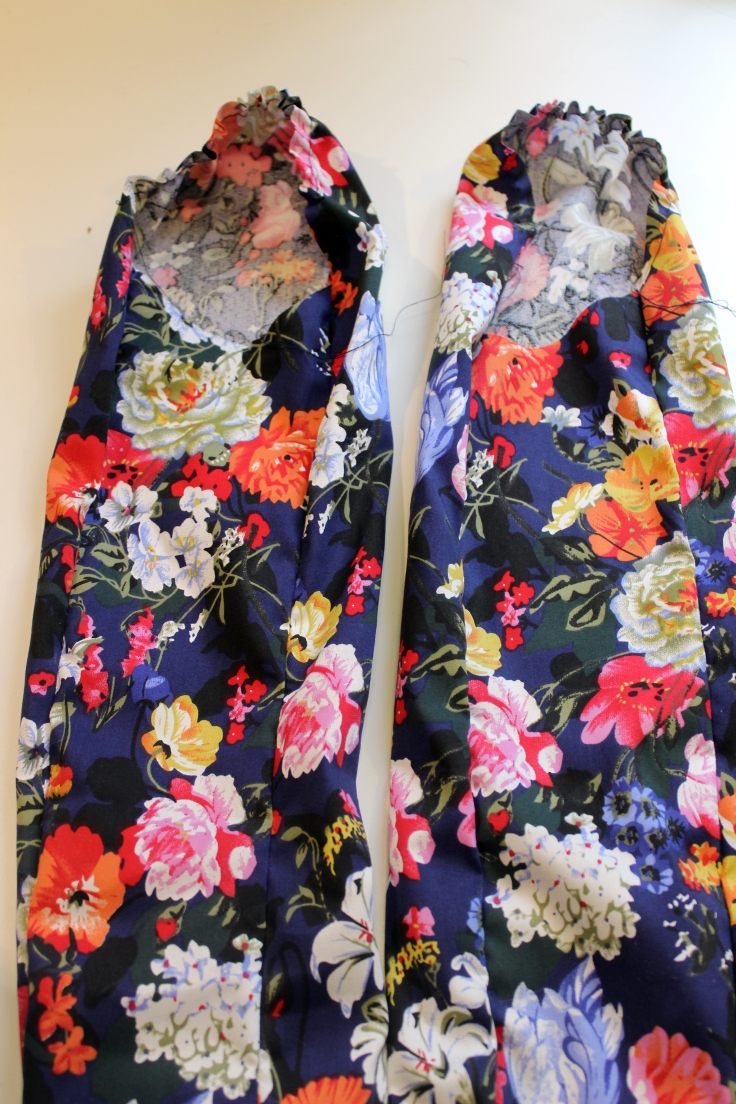
- Now back to the main fabric – construct your sleeves and ease stitch the sleeve head
- Then attach the sleeves as normal but including the lining that is sewn to the armholes.
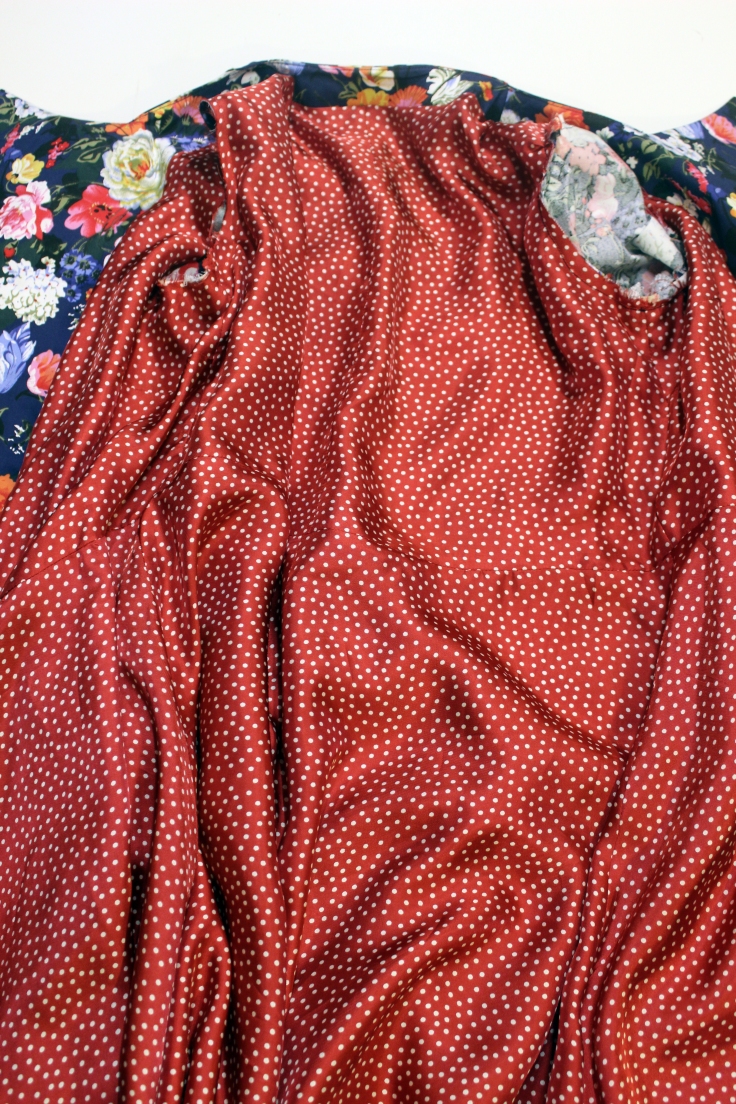
- Nearly done! Hem the sleeves and now the big bit…
- Hem both the lining and main fabric, first separately…


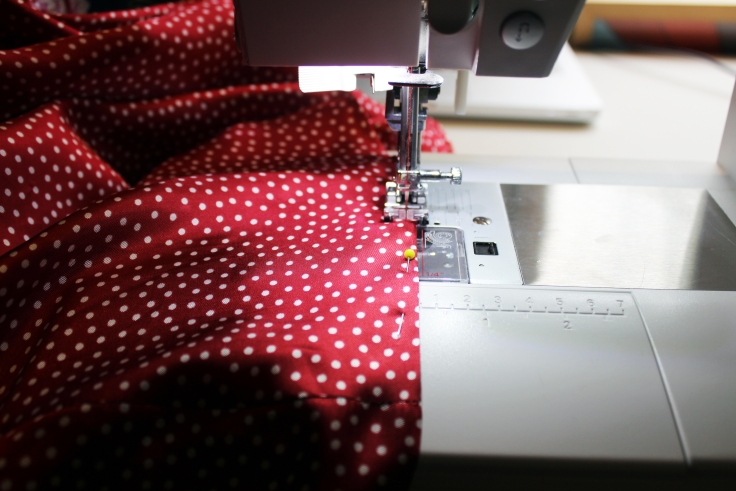
- Then – put on a movie, get cosy, grab a cup of tea and settle down because you’ve got to hand stitch this beast – use a catch or hemming stitch to attach the lining hem to the main fabric hem – this is a great guide on how to do this!
- TA-DAH!!
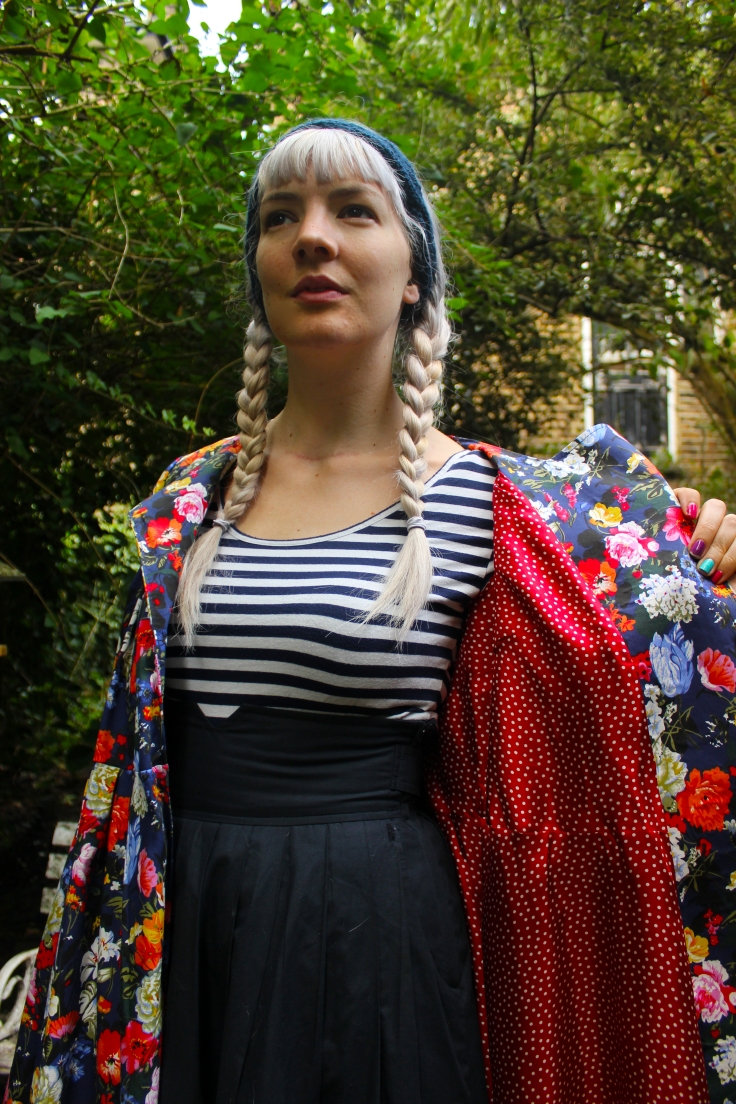 ALL LINED!!
Now your coat is done and luxuriously lined so put it on and twirl to your heart’s content!!
Here are a load of pictures to show how much I love my coat!



Hope you enjoyed this tutorial!
Thankyou so much for reading,


Hello gabby thanks for the great tutorial .your trenchcoat is beautiful.xx
Gabby this is the most beautiful trench I think I’ve ever seen! It’s so beautiful and you have so perfectly showcased why making our own clothes is simply the most wonderful thing in the world 🙂 A flowered, brightly coloured trench on a rainy day will lift everyone’s spirits around you 😉